I have to preface this post on winter hiking tips by saying that I am personally not anywhere close to being an expert in snow safety.
I have not taken an avalanche safety course, a wilderness first responder course, or any official mentorship with snow safety. Everything I know is from internet reading and tidbits I’ve learned from being out with others.
That being said, because I know I don’t have those skills or knowledge, I did NOT go on a big backcountry skiing adventure or do a long, isolated trek on my own.
I went by myself, yes. But I went to a well mapped-out, high-trafficked park where snow wasn’t too deep and there was no avalanche danger.
Snow your limits folks.
Snow is beautiful and can be a ton of fun, but it can also be dangerous and is not something to mess around with. People die in snow.
When I went on this hike, I did some reading about the weather conditions the day before and I knew where I was going. I brought more food and layers than I needed and a basic first aid kit. I was also fully prepared to not go as far into the mountains if it seemed like more snow than I was prepared for.
So there I was in my base layers, snow pants, fleece, midlayer jacket, puffy jacket, snow jacket, mountaineering boots, gloves, hat, scarf, and Yaktrax thinking maybe I was doing something reckless. Then I saw people getting out of their cars in jeans, vans, and a hoodie… Shit, am I overdressed? Maybe they knew something I didn’t?
By midday, the sun was shining and I was carrying most of my layers rather than wearing them, but I was still glad to have waterproof boots. In this exact situation, with the warm temperatures, lots of people about, phone signal, and well-marked paths, maybe I went a bit overboard with everything I brought.

At the same time, I’d always rather be overprepared rather than not have what I need. The conditions could have easily been different: the weather could have changed, there could have been fewer people, the trail could have been hard to follow, the snow depth could have been higher, etc. In those situations, my supplies could have been essential.
Where I Went On My Snowy Adventure (and How I Planned it)
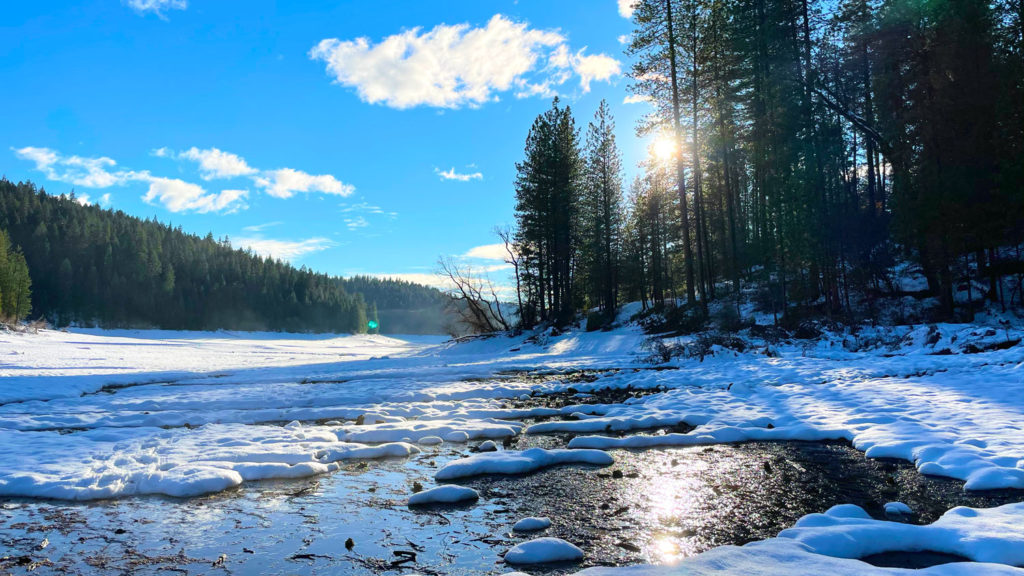
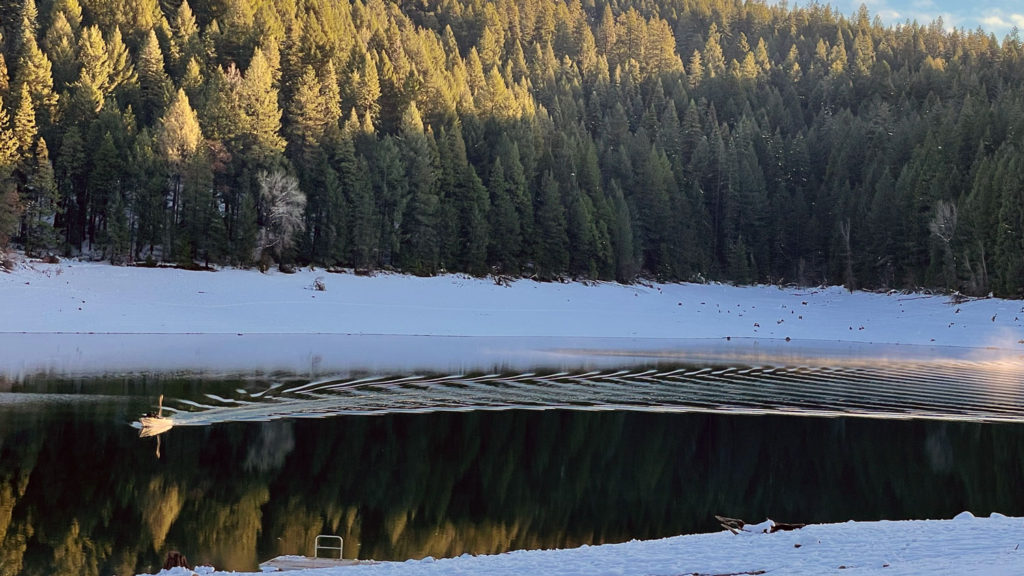
For my snowy romp, I chose to go to Sly Park Recreation Area in Pollock Pines. It was the first time I’d been there and it was stunning. It was $15 to get in and they gave me this trail map at the entrance.
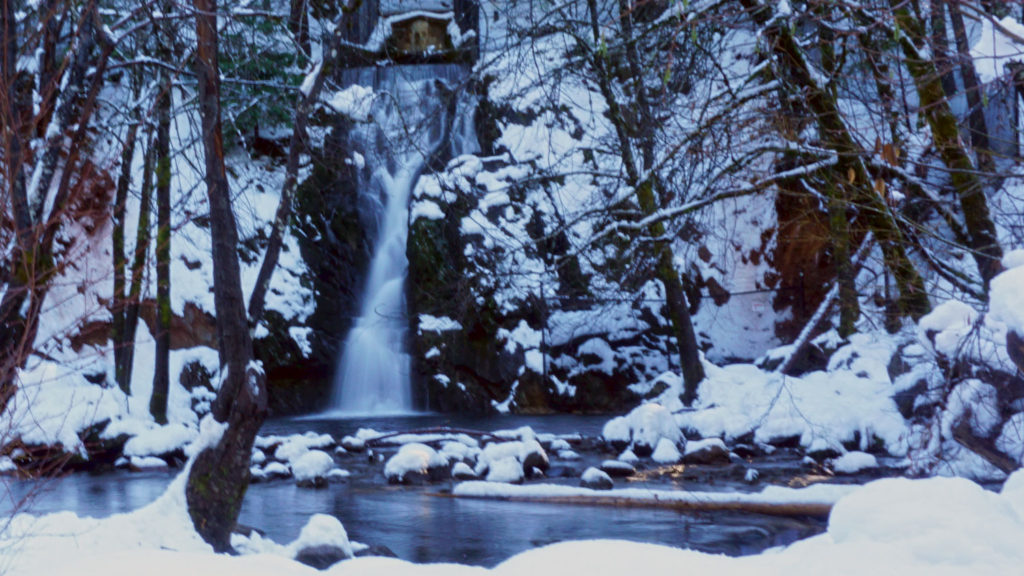
The short hike I did was around 3 miles. I could have gone all the way around the lake, but chose to turn back at the waterfall.
When I was researching beforehand, I looked up the snow depth level, decided the general elevation I wanted to go to, read different recommendations of trails in that area, then picked a few of my favorites. With those, I looked up driving times and conditions and looked at recent park reports about weather conditions.
If I’d been to Sly Park before and knew my way around it, my preparation probably would have looked different, but I wasn’t totally sure what I’d be getting into.
These are a few of the resources I used:
7 Winter Hiking Tips for Light Snow Conditions
Note that these winter hiking tips are for light snow conditions. Not any sort of backcountry adventure in knee or waist-deep snow. I make no claim to know anywhere near enough to give advice on that (yet). If you’re looking for that sort of advice, maybe check out this beginner’s guide to backcountry snow safety.
1. Do Your Research
I’m sure I could do better with this, but having a plan and knowing what you’re doing is even more important in the snow. While you may be able to get away with just a Google Maps trail search for a short day hike in non-snow conditions, snow adds an extra layer that you have to plan for. Sure, you can adapt and change plans later, but you want to know what you’re getting into and what risk level you’re willing to take.
2. Tell Someone Where and When You’re Going
This is especially important for solo hikers. Make sure someone knows where you’re going on your hike. Plus, tell them when you plan to get back or when they should expect to hear from you after. You can give them a time slot for “when you expect to get back,” and at what time they should call for help.
3. Bring a Headlamp
I probably don’t have to tell you this, but it gets darker earlier in the winter. I know, it’s a well-known statement, but it’s important to really understand it.
Look up when the sun sets and schedule accordingly so you get back before it’s dark. But of course, sometimes it just sneaks up on you and that’s when a headlamp or flashlight is essential to get back.
4. Bring More Food Than You Think You Need
I went a bit overboard with the amount of food I brought, but I actually did go through a lot of it. I brought:
- 2 PB&Js
- 2 ham cheese and lettuce sandwiches
- Donut holes
- 3 protein bars
It’s not that you expect to eat this much, but you’d be surprised how much energy staying warm in the cold can take and if you get stuck for longer than you expected, you’ll be happy for the food.
5. Bring a Hot Drink in a Thermos (And Water)
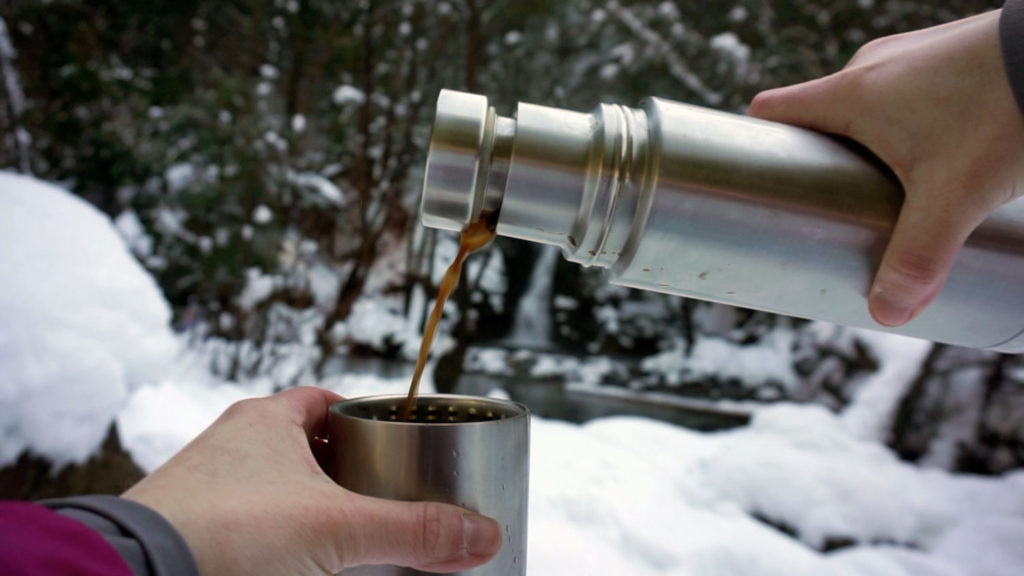
Confession: The morning I set out, I realized I didn’t have any hot chocolate left… so I used ovaltine powder. I could have done tea, but I was really attached to the chocolate idea. It worked. Add it to the dumb shit I’ve done.
While on the one hand, this is just nice to have mid-hike, it’s also useful for helping you stay warm when you’re taking a break. Plus, a warm drink may be more appealing than cold water.
Speaking of water, even though it’s cold and you may not be sweating as much, you still need to bring water (and remember to drink it). You can still get dehydrated.
6. Wear Warm, Waterproof Shoes
Any hike becomes unpleasant with cold or wet feet. Especially in the snow, you want to make sure your feet stay dry and warm.
7. Bring a Space Blanket
This was one thing I specifically made sure to bring with me. It’s light, doesn’t take up much space, and can be incredibly useful in a cold situation as a blanket, shelter, or ground cover. (Something like this $5 one from REI would work well.)
The reflective material is meant to reflect your body heat back to you so you can stay warmer. I’ll admit I’ve never had to use one before, but the fact that it’s so light and easy to pack, it’s a no-brainer.
Additional Resources
My final tip for adventuring out into the snow: don’t just take my advice! If you get nothing else from this post, I hope you leave knowing you should probably learn more about snow safety. Take an avalanche safety course. Read up on more winter safety. Find someone who can mentor you.
Here are a few extra resources to read more: