You know those outdoorsy solo adventure photos with one person in the shot looking all adventure-y?
If you follow any outdoorsy, aspirational type hashtag on Instagram or really any sort of outdoor media, I’m sure you know the type of pictures I’m talking about.
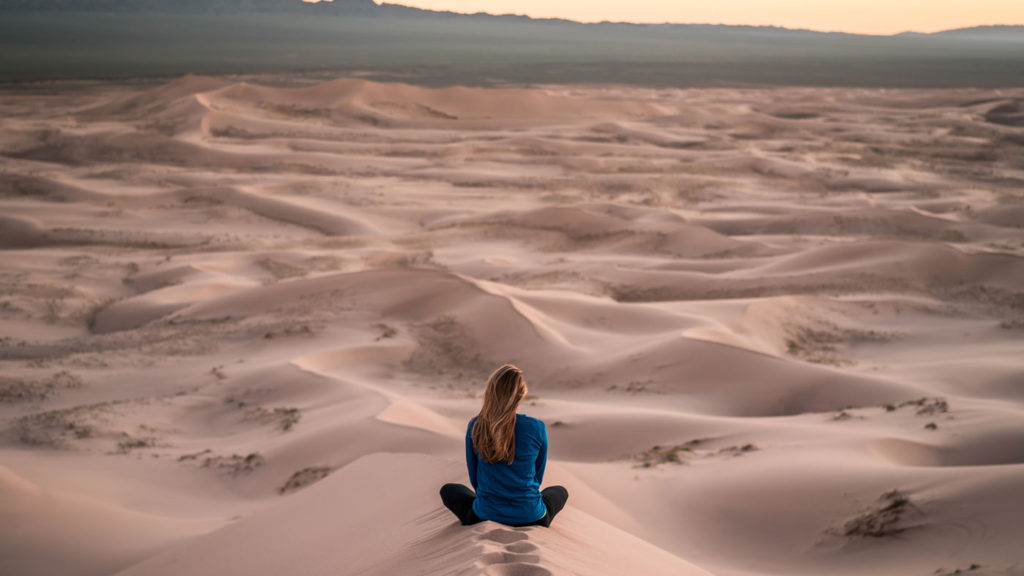 (Photo credit: Patrick Schneider via Unsplash)
This kind of picture where you’re like “wow, look at that brave adventurous soul doing things on her own. That is a dream adventure.”
But in reality, it’s like:
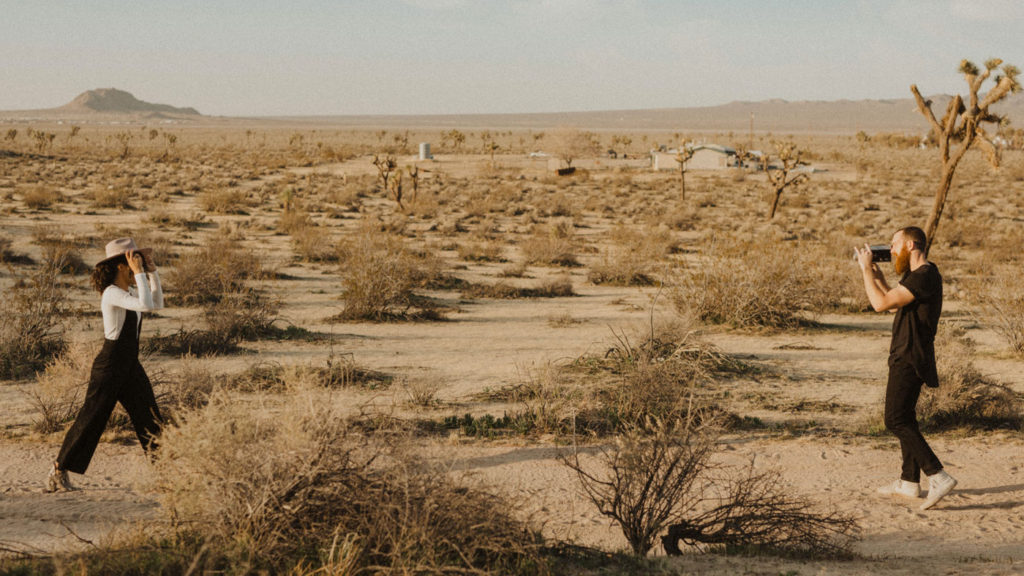 (Photo Credit: Jakob Owens via Unsplash)
They aren’t actually alone! They have someone behind the camera!
So when you actually are doing a solo adventure, how do you take photos of yourself?!
Take a selfie? Use a selfie stick? Ask a stranger to take the picture? Set up tripod and timed shot?
The truth is (in my mildly experienced opinion) that it’s a combination of all of those – minus the selfie stick.
Given the whole only “mildly experienced” thing, I’m not going to give you the end all be all advice, because I’d either be bullshitting it or stealing it.
Instead, I’m going to show off (maybe more reveal? They aren’t all good) some photos I’ve taken when I’ve actually been adventuring on my own, then explain some of the ridiculousness that came with the photo.
The truth is, on a lot of my solo adventures I’ve often just not gotten photos with myself in the shot. I’ve only fairly recently started learning to take pictures of myself while by myself, so some of these didn’t turn out great. Many aren’t that “Instagram-famous” quality shot, but in that case, we’ll just have a laugh about how I tried.

Take a Selfie

The easiest, most classic way of getting a photo of yourself when you’re by yourself: The Selfie. I have to admit since I recently upgraded from the iPhone 6s to the 12, that portrait mode is *chef’s kiss* very useful.
My suggestion?
Get some background into it, smile, and get it done quickly. Then be done with it and go back to experiencing your adventure. It’s a selfie – no matter how many retakes you do, it’s still going to be a selfie.
The story behind this shot?
I took this photo after biking up to this look-out point. Sharing the pullout with me were a couple of people listening to music and admiring the view from the back of a van. I’m always a little self-conscious about taking selfies especially when there are other people around, so I just tried to take it quickly and then go back to looking at the view.
Timed Shot with a Phone
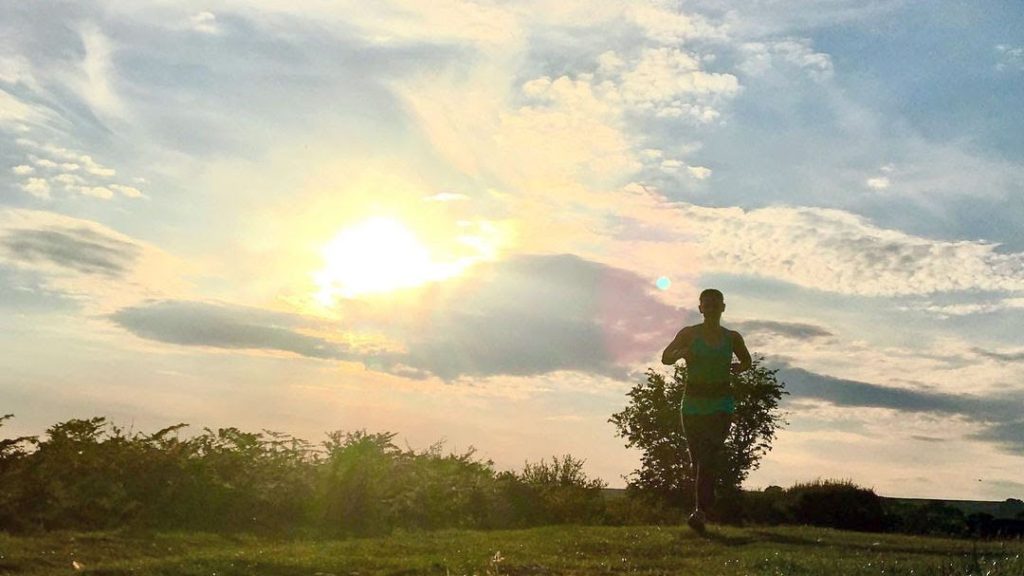
I have to say, this was one of my better running iPhone photos.
The story behind this shot?
I propped my phone up between two rocks and tried way too many times to get it right to the point that it wasn’t really a run. I set the camera timer then left it at the prearranged propped-up angle and ran away a little only to run back towards the camera. If anyone had watched me, it would have looked ridiculous. Also, the phone tipped over before getting the shot at least six times.
Wanna see one that really didn’t work quite right?
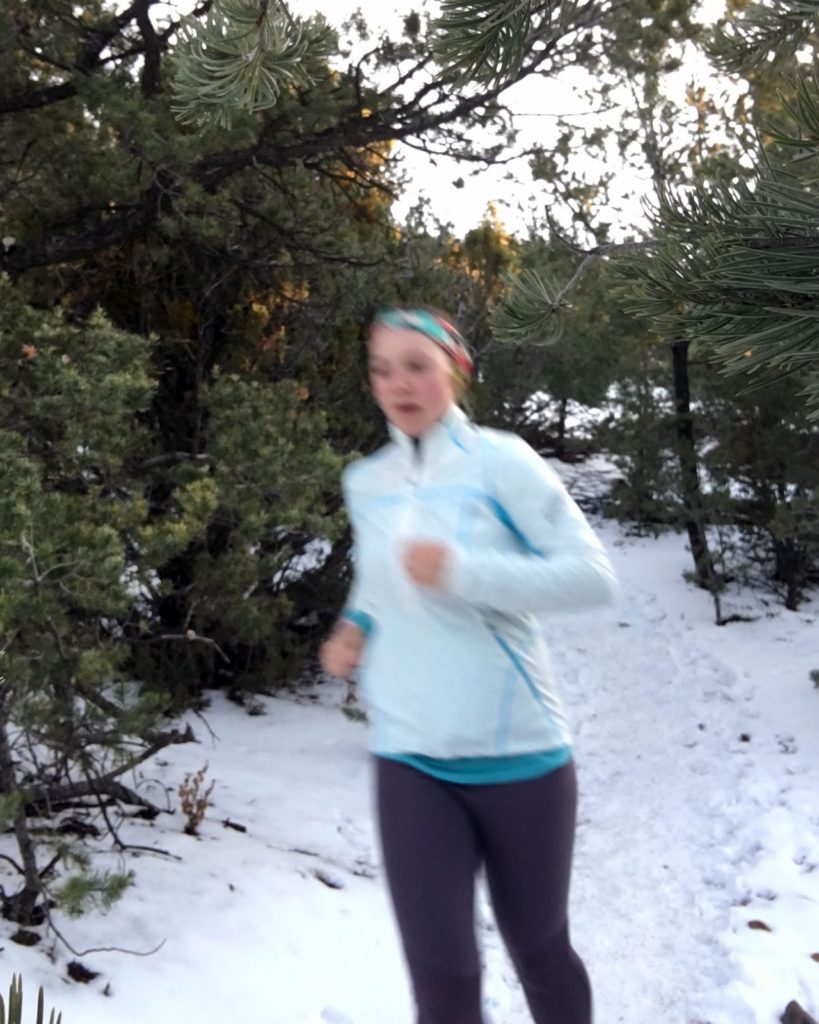
You’re welcome.
It’s okay, you can have a bit of a giggle about that one.
The story behind this shot?
This shot not only took the phone balancing, camera timer, and running back and forth, but I also had to make sure not to slip on the snow while running (though that could have also made a very funny picture). For this one, I believe I used the front-facing camera and balanced the phone in a tree.
My suggestion?
I’m pretty sure the camera on the back of the phone is better than the selfie camera, so if you can, use that one. If you plan to only use your phone for all your pictures and want photos that aren’t selfies, consider getting a tripod that’s compatible with a phone like the GorillaPod for phones.
Timed Shot with a Dedicated Camera
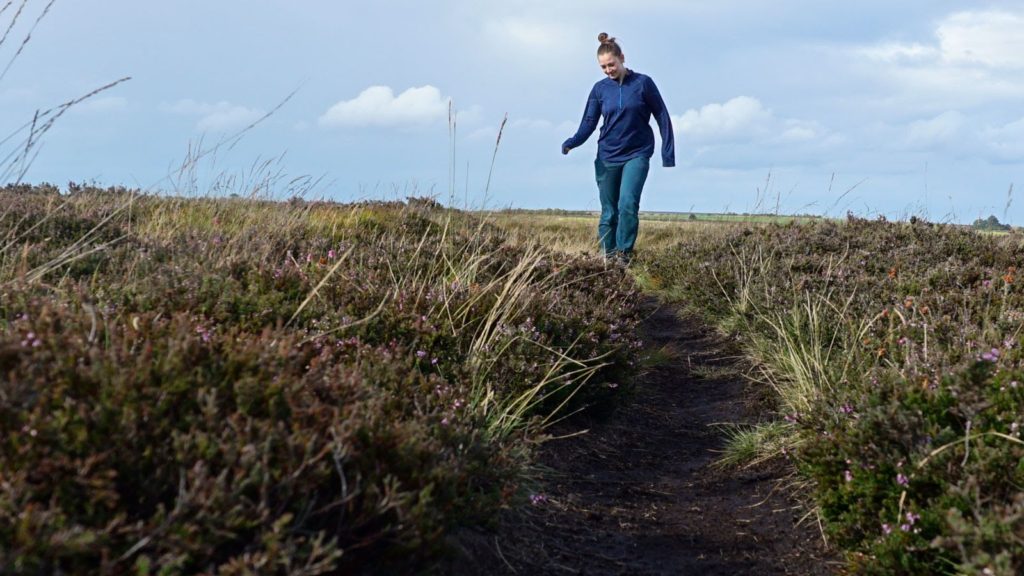
I went on a fair amount of walks through the Yorkshire moors when I was living in the little village of Lealholm. However, to actually take photos of myself, I would go out with the sole purpose of taking pictures. This was with my Sony α6000 mirrorless camera.
The story behind this shot?
If I had really done this picture the way I’d wanted to, I would have used a tripod that brought the camera higher up, but alas, I did not have a tripod. Instead, the camera was carefully balanced on top of my camera case. I took quite a few timed shots walking back and forth on the path.
My suggestion?
Getting the right picture takes time. I think in my mind I have this idea that if you just take your camera with you everywhere you’ll get great shots. But in reality, if you’ve gone through the effort of hauling your camera gear out with you and want to get a specific photo of yourself on a solo adventure, it does take some planning and set up.
Plus, if you’re an amateur photographer (like me) it will take practice and you might not get the perfect shot right away.
Other Photo Tips to Check Out
Then, maybe it’s time to check out some other photographers with more advice than I have. That’s what I’ll be doing! Here are the posts I’m starting with:
- This Vlog about Instagram photos – The biggest takeaway I learned, was video rather than timed photos! I’ll try that next time…
- This blog post is also useful (and she used my same camera!) – My biggest takeaway is that I really need to download the app that goes with my camera to take pictures without having to hit the button. I’ve been meaning to do it, I swear!
Like this:
Like Loading...